

Lesson 5: Editing on a Phone
Tuborial by

Lesson 5: Editing on a Phone
Lesson Objective: I can use my phone to edit photographs by adjusting brightness, contrast, colour, and cropping.
Editing is the process of making small changes to a photograph after you have taken it. This helps to bring out its best features. You can do this for yourselves using a smart phone. You can adjust things like brightness, colour, contrast, and detail to enhance the mood and feeling of your image.
Editing is not about changing your photo completely or making it look unrealistic. Instead, it is about helping your photograph better represent what you saw and felt when you captured the moment.
Tutorial 3
Mindful Activity 4
Editing Glossary
 |
 |
 |
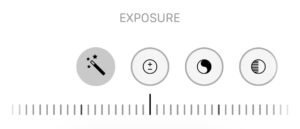
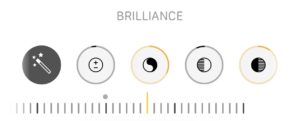
| Controls how much light is in the photo overall. | Improves the overall balance of a photo by making it clearer, brighter and more detailed without overdoing it. | Adjusts the brightest parts of the image (e.g. sky, reflections). |
 |
 |
 |
|
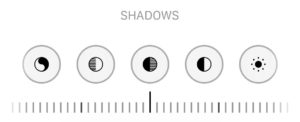
Adjusts the darkest parts of the image. |
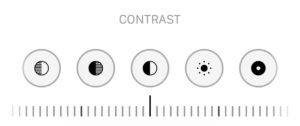
Changes the difference between light and dark areas. | Makes the whole image lighter or darker. |
 |
 |
 |
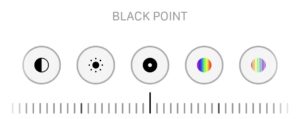
| Black point adjusts how dark the darkest parts of your photo are. | Controls how strong or dull the colours look. | Boosts weaker colours without overdoing already strong ones. |
 |
 |
 |
| Makes the image look more yellow/orange (warmer) or blue (cooler). | Tint changes the colour balance of a photo by adding more green or magenta tones. | Makes details in the image clearer or more defined. |
 |
 |
 |
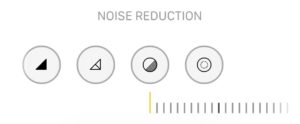
| Enhances mid-level detail and texture (makes things “pop”). | Reduces graininess in a photo, especially in low light. | Darkens the edges of the image to draw attention to the centre. |